Universal measuring software includes new optics functions and automated defect display for coordinate measuring machines
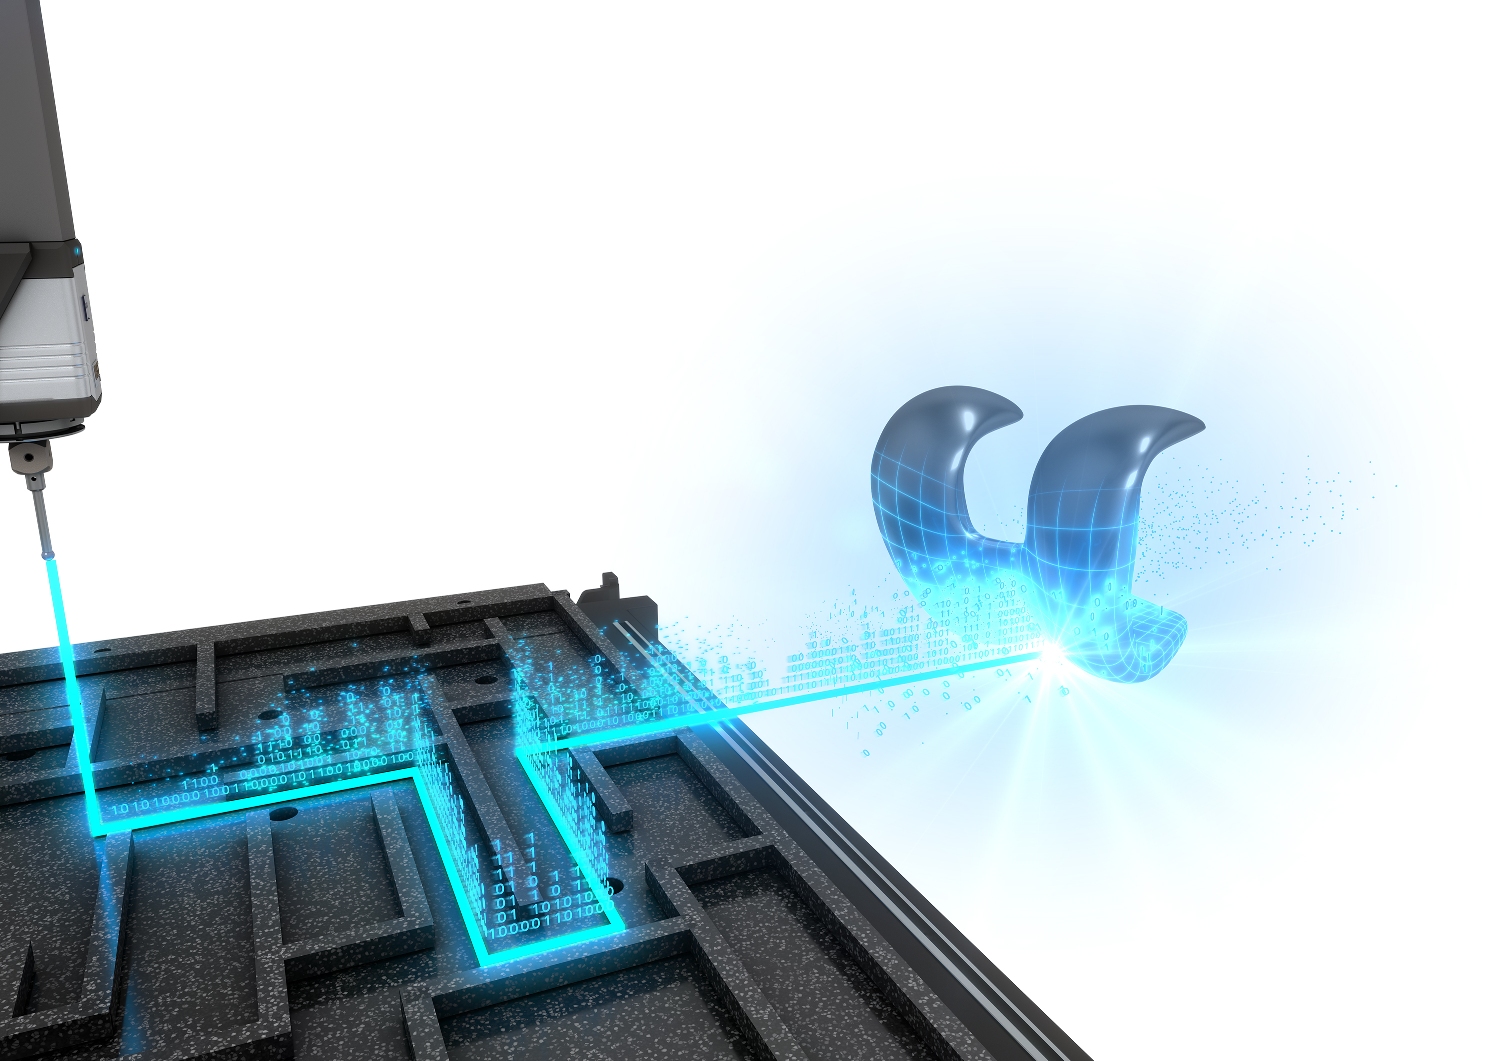
From this summer, users of Zeiss coordinate measuring machines (CMM), have been able to access the latest universal measuring software version with a focus on standard geometry. The Zeiss Calypso 2022 software is said to increase performance in data acquisition as well as in evaluating results.
According to Günter Haas, the Calypso Software Product Manager, users don’t want to spend their time writing measurement programs, they just want to measure parts. With this understanding as well as its understanding of CMMs as devices integrated into the manufacturing process, Zeiss has improved the performance of its software so that it does not become the bottleneck of quality assurance despite increases in production cycles. IT plays a major role in this, as the current release of Zeiss Calypso 2022 with its array of new features and optimisations clearly demonstrates.
Programs from CAD data
Measurement programs can be created automatically using the product information (PMI) integrated in the CAD data. Zeiss Calypso 2022 offers users many new functions and improvements for the automated creation of finished measuring programs. With the new release, separate or combined tolerance zones are recognized and the corresponding evaluation is automatically created.
If defective geometry elements are attached to a PMI in the CAD model, the new release automatically creates the inspection characteristic without the measuring element, thus generating an inspection plan completely and without interruption.
The user can then analyse possible indications in the work log. For PMI specifications that previously required manual input, it is now eliminated. With the new release, PMI generation runs automatically.
For more clarity, the inspection characteristic groups are generated automatically with the new release. This means that Calypso inspection characteristic groups are automatically created from the “CAD views” of the CAD systems.
New optics functions
CMM technology has long been supplemented by optical measuring methods to obtain important information for product and process improvement so Zeiss Calypso 2022 also offers numerous improvements and new developments in terms of optics. For example, the latest version of the universal measurement software now also supports the Zeiss O-Detect. This means that inspection plans from other CMMs – especially from the Zeiss O-Inspect – can now also be run on this device. This means that users of the Zeiss O-Detect have access to all reporting evaluations and Calypso functions such as curve or generate inspection plans with PMI. According to Haas, the optical distortion correction feature for increasing the accuracy of optical systems should also interest users because it increases the optical distortion correction. A significant increase in accuracy is especially noticeable in the peripheral areas.
The use of small magnifications increases the field of view. More geometry elements can be captured in the image at the same time. Depending on the measurement task and the required tolerance, this reduces the necessary number of measurement images and at the same time saves measurement time. Users can also reduce their measurement times by up to 50% with this, according to Haas.
Automated error analysis
CMM systems, especially optical ones, are getting faster and faster. Today, for example, the Zeiss Calypso can easily measure 1000 holes in ten minutes. However, the subsequent manual evaluation of the measurement logs typically used to consume a greater amount of time.
However, with the new release of Zeiss Calypso, inspection characteristics with defects are detected and the complete detailed information is automatically displayed in the measurement report. The Zeiss Calypso inspection characteristic concept has now also been incorporated into the automated defect analysis in Zeiss PiWeb Reporting. This means that all characteristics that are out of tolerance are now automatically displayed in the interactive CAD view. This means that users no longer have to laboriously search for defects in the log. This saves time and also reduces the risk of overlooking out-of-tolerance features.
- UK manufacturing steps up to COVID-19 crisis - April 2, 2020
- Clustering Innovation - March 12, 2020
- A Global Monitor - March 6, 2020

